Screen printing t-shirts at home is a fun and creative way to make custom clothing, promote a cause, or even start a small business. While it might seem complicated at first, with the right tools and a bit of practice, you can create high-quality prints that look professional. This guide will take you through the entire process, from gathering materials to printing and curing your design. Whether you are a beginner or someone looking to improve your technique, this guide will help you master the art of screen printing.
Materials You’ll Need
Before you begin, make sure you have all the necessary supplies. Here’s what you’ll need:- Screen and Frame – A pre-stretched screen is best for beginners. The mesh count (threads per inch) will vary based on your design.
- Photo Emulsion and Sensitizer – These materials help create the stencil on your screen.
- Ink – Water-based ink is recommended because it’s easy to use and clean up.
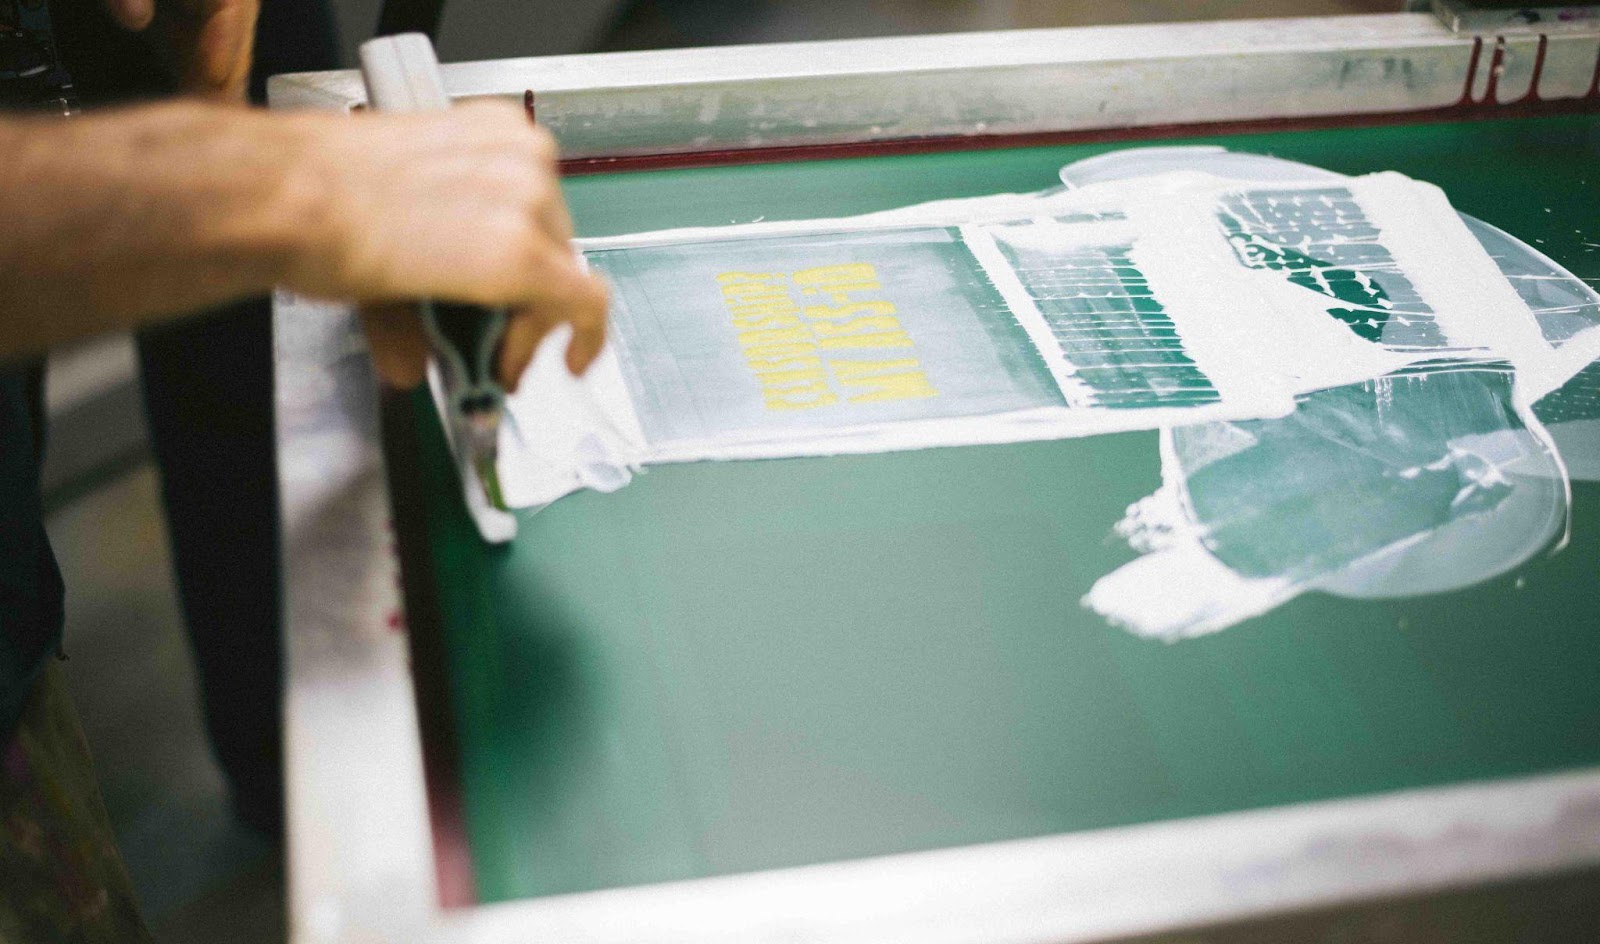
- Squeegee – A tool used to spread the ink across the screen and onto the t-shirt.
- Transparency Film – This is where you’ll print your design before transferring it to the screen.
- Exposure Unit – A bright lamp or exposure unit helps harden the emulsion around your design.
- Washout Station – You need a sink or hose to rinse the screen after exposure.
- T-Shirts – 100% cotton shirts work best for screen printing.
Step 1: Create and Print Your Design
The first step is to create or choose a design for your t-shirt. Simple and bold designs work best for screen printing. Once your design is ready, print it onto transparency film using a laser printer. This will be used to transfer the design onto your screen.Step 2: Prepare the Screen
- Apply a thin, even layer of photo emulsion onto your screen using a squeegee.
- Let the screen dry completely in a dark place.
- Once the emulsion is dry, place your transparency film on the screen.
- Expose the screen to light for the recommended time (check the emulsion instructions).
Step 3: Wash and Prepare the Screen for Printing
- After exposure, rinse the screen with water to wash away the unexposed emulsion. This reveals your design.
- Let the screen dry completely before printing.
Step 4: Printing on Your T-Shirt
- Lay your t-shirt flat on a clean surface.
- Position the screen on top of the t-shirt where you want the design.
- Pour a line of ink at the top of the screen.
- Use a squeegee to spread the ink evenly across the design, pressing firmly.
- Carefully lift the screen to reveal your printed design.
Step 5: Curing the Ink
To make sure your design lasts, you need to set the ink permanently into the fabric. There are different ways to do this:- Heat Press – A heat press machine is the best option for professional results.
- Iron – Place a piece of cloth over the design and press it with an iron for a few minutes.
- Dryer – You can also use a clothes dryer at high heat for 10-15 minutes.
Helpful Tips for Better Results
- Practice on old t-shirts or fabric before printing on your final design.
- Keep your workspace clean to avoid dust or dirt affecting your prints.
- Experiment with different ink colors and designs.
- Join online screen-printing communities for tips and inspiration.